Microsoft has introduced a free online tool called Windows Experience Pack with which you can create animated display picture (Dynamic Display Picture) with your own face for MSN Messenger (Windows Live Messenger).
With the Windows Experience Pack, you are able create an alter-ego of yourself in a specific destination – a beach, mountain, safari, or city. When you create your alter-ego, you create a fully customized avatar for that destination that becomes a part of a Windows Live Messenger and Windows 7 theme for your PC. You’ll also be able to download a .jpg image of your avatar to share, print, or use as your icon on social networks.
For a specific destination you pick, the following Windows Live Messenger elements are created for you to use in Messenger for your alter-ego:
* 1 static Display Picture
* Up to 4 Dynamic Display Pictures
* A Wink
* 7 new Emoticons
* A new Messenger Scene
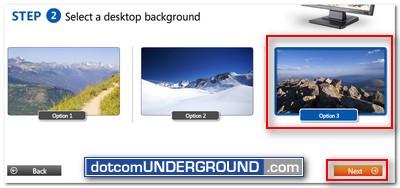
For Windows 7, you are given the choice between 3 desktop backgrounds for your destination and a screensaver featuring multiple photos from your destination.
The Windows Experience Pack was created and optimized for Windows 7, but it can be downloaded and used on PCs running Windows XP or Windows Vista too.
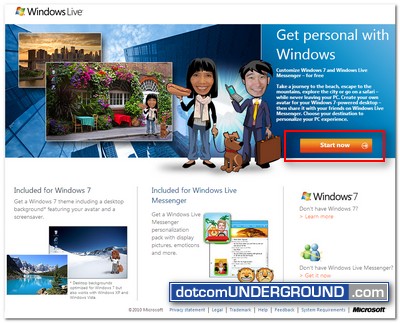
To get started you need to go to the Windows Experience Pack site.
Once the site is loaded, click on the “Start now” button.
Now choose a destination – a beach, mountain, safari, or city. For this run I am going with mountain. Choose “The mountains” and click on “Next“.

On the next step, choose a background option. Then click “Next”.
Now to choose your avatar. Select if you are Male/Female and click on “Next“.
![]()
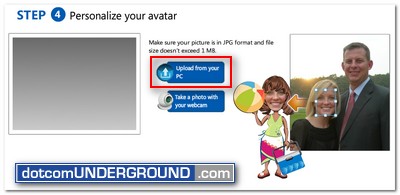
Now its what I’ll call the main magic of the tool. Give the avatar your own face! For that you will have to choose a pic from which you will be able to crop out your face.
Click on the “Upload from your PC” icon and browse to the picture you want to use.
Once the picture gets uploaded, you will find a large face shape overlay with pointers to resize/move it.
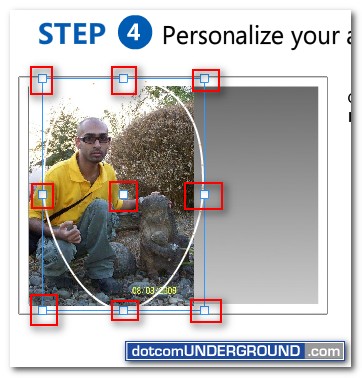
You will need to resize/move it to fit your face. I suggest to let it cutoff some part rather than selecting more than just the face.
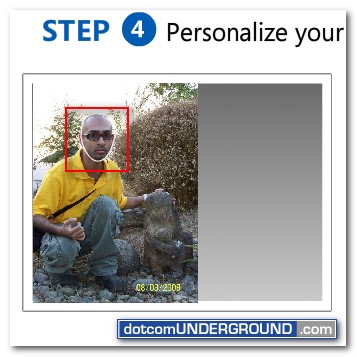
When you are done, click on “Next” to continue.
You will then be presented with a screen like this.
![]()
Wait for your avatar getting generated.
Once done you will be provided with this screen:
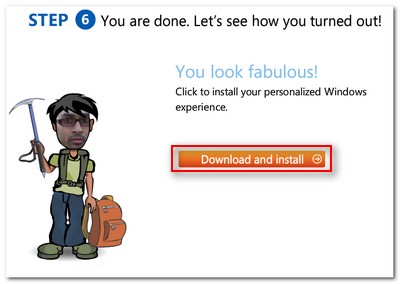
Click on the “Download and Install” link.
You will be provided with a .exe file. Don’t panic. It’s not a virus. Its the installer built for you which will install the dynamic display picture, desktop background, screen saver etc.
Save the file.
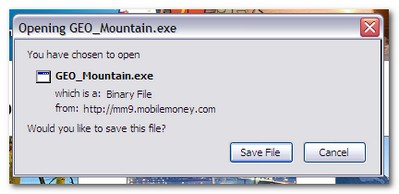
After saved, run the .exe file. It will start the installer wizard.
You might like to uncheck the last 2 options ;)
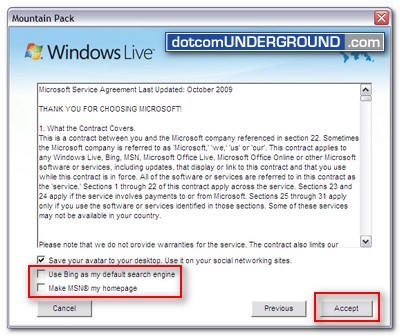
Continue with the installation process. It does take a lot of time.
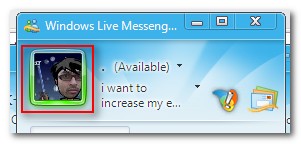
Once done you will find your MSN Messenger Display Picture got changed to this new Dynamic Display Picture with your own face.

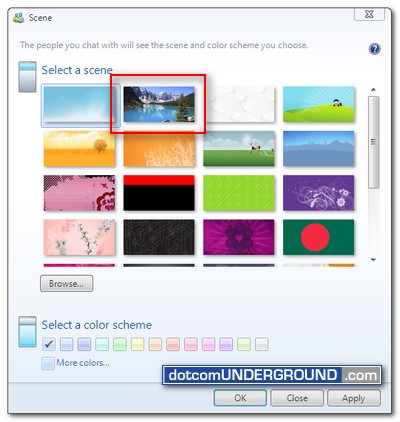
You will also find a new Scene installed on your Windows Live Messenger.
And it doesn’t just stop there. It will also change your Desktop Wallpaper.
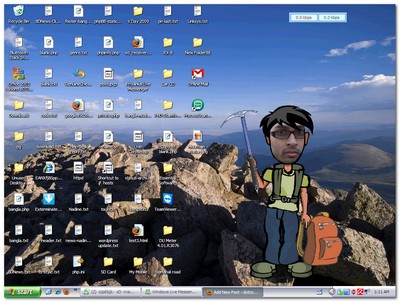
(Yah, Yah! I need to get things organized, I know :$)
You will also place the avatar image file (in .jpg) on your desktop. You can use that on other places like your forum avatar, facebook profile picture and so on.
Here is the one they generated for me:
![]()
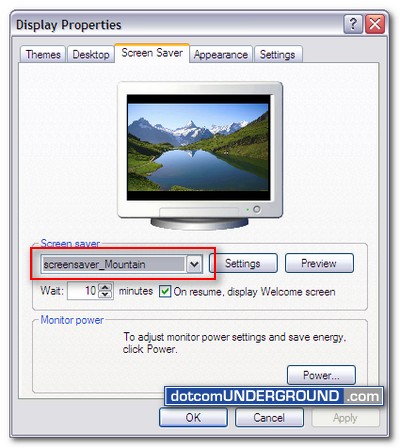
Oh! and yes! It installs a screen saver for you too!
Tags: Avatar, Display Picture, Dynamic Display Picture, MSN Messanger, MSN Messenger, MSN Messenger 2009, MSN Messenger 9, Windows Live Messenger, Windows Live Messenger 2009, Windows Live Messenger 9, WLM, WLM 2009, WLM 9
Categories: Tech, Tips and Tricks
